By now most of you probably have made their own sourdough starter from scratch. It seems that in the last few weeks baking your own bread has become a huge trend. I am probably not adding anything new to the discussion here, except for my personal experiences. For years I have been making my own rye sourdough starter. And now’s the time to do it again. Summer is around the corner and a couple of hot days are perfect for starting your sourdough.
There are many methods to make a starter and I don’t think mine is best or the only one. But this rye sourdough starter is what’s been working for me. It’s also how most people in Germany (and in most countries) traditionally make their starters. For this method, you won’t need anything but rye flour (wholemeal is preferred) and water.
Why use rye flour?
In Germany we traditionally use rye flour. Apparently we are one of the top rye producers in the world. Until the 20th century it was the most important grain in this country. It can be grown on poor soils, which is why we eat a lot of rye bread in Northern Germany, where soils aren’t that great. But it’s not that we eat only rye breads. I guess that most people eat mostly wheat based bread products these days. Breads and rolls that are made with mixed flours or just wheat are popular. We have so many different flours here. It’s kind of interesting how people from other countries sometimes glorify German rye breads and their slightly distorted view on our bread culture has always felt weird to me.
There is no German rye bread. We have so many different bread varieties. I grew up with dark brown, sweet pumpernickel that was made from only rye berries and rye chops Traditionally it’s baked at about 100°C for up to 24 hours. It’s a very nutritious bread with a distinctively sweet and nutty flavour. (And don’t you dare put caramel color into the dough. Or caraway.) My coworkers here in Saxony never touch this kind of bread. They give me weird looks when I start to rave about pumpernickel.
One thing all German rye breads have in common is that they are not made with yeast. To make a proper rye bread you need a sourdough starter. Rye flour does not have much gluten. This makes rye breads much denser than wheat breads. Also, like other grains, rye contains the enzyme amylase. Rye amylase is different from wheat amylase. I won’t go into detail here, but amylase can hinder starch from forming a proper crumb. The only way to prevent that is a sourdough starter. The starter will break down the enzyme, so that you won’t end up with a gummy crumb. You also have a little health benefit when using sourdough instead of yeast. Sourdough bacteria and acids neutralise phytic acid, an anti-nutrient found in many plant foods. Rye contains a considerable amount. Phytic acid prevents the absorption of some minerals.
How to make a rye sourdough starter
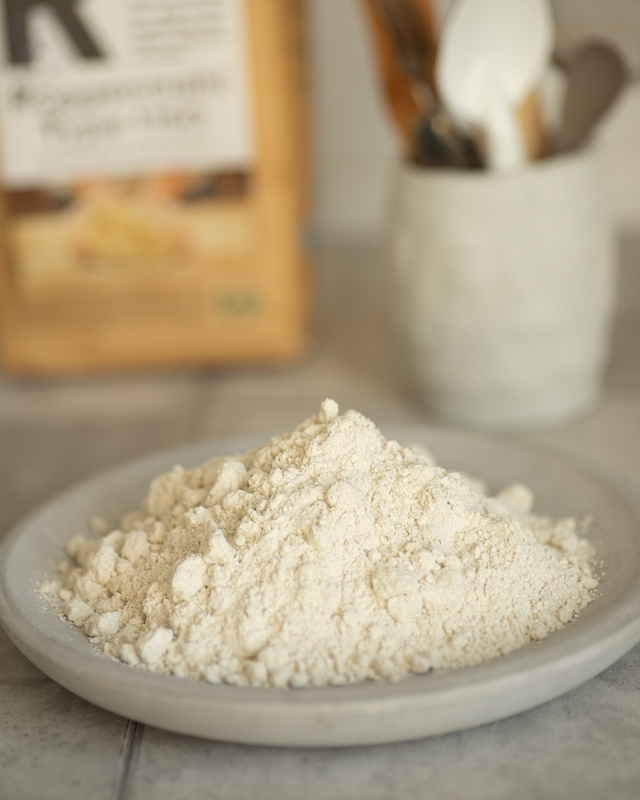
To make a sourdough starter, it’s best to use whole rye flour. Most bacteria that are important to grow your starter sit on the bran. Whole rye flour also has nutrients that help speed up the fermentation process. If you cannot find whole rye flour, use the darkest version you can get. Also, your flour should not be bleached and don’t use one that has added ingredients like vitamins. Just flour. You will need rye flour, water, a sterilised jar and a clean spoon. Make sure all of the equipment you are using is clean. This is very important so your starter won’t grow mold.
Making the starter takes approximately five days. It can take longer, depending on the warmth of your room. If it’s not warm enough it will take longer. I usually place my starter next to a sunny window but make sure it doesn’t get too hot. If the sun shines on your glass for several hours, the bacteria will die. You can also place the starter in your oven. Only switch on the light, don’t set a temperature. Some ovens will get too hot, so you should check the temperature.
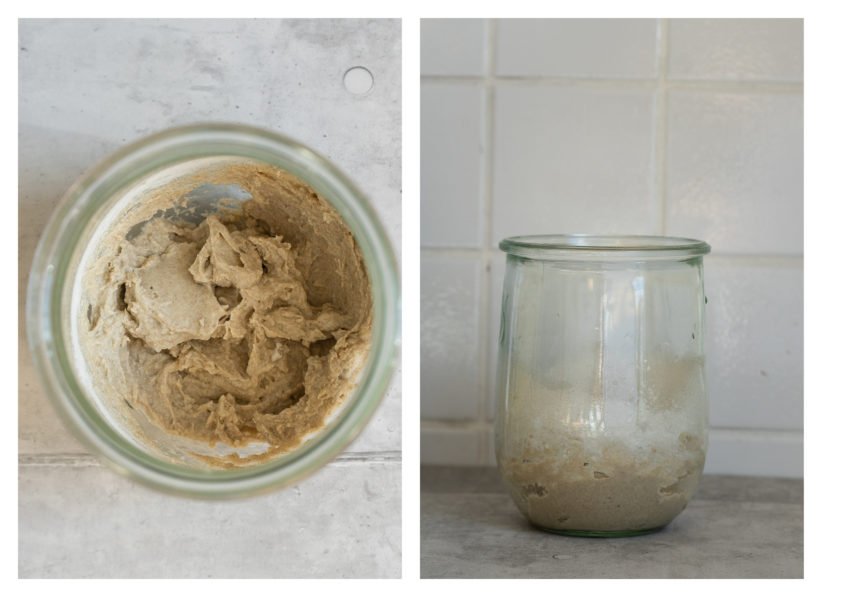
Day 1: Mix 50 g of whole rye flour with 50 g of water. Loosely cover and let sit in a warm place. Vigorously stir the mixture once a day to beat in air.
Day 2: Add 50 g of rye flour and 50 g of water and mix to combine. Vigorously stir the mixture once a day to beat in air. At this point your starter may already have grown. Maybe you can see bubbles and the starter may already look good. Don’t be fooled! These are some overactive bacteria that will die soon. At this point it should smell pretty weird and I can assure you, the starter takes a few more days.
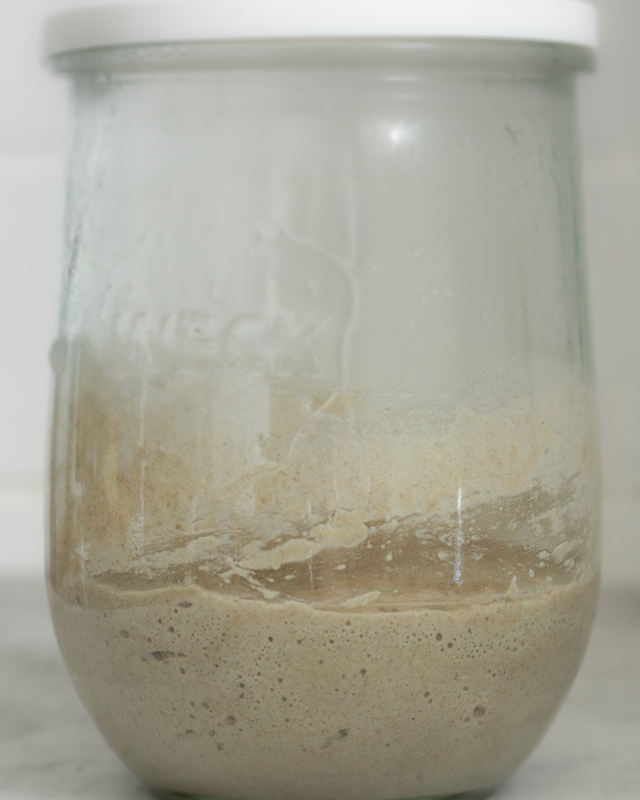
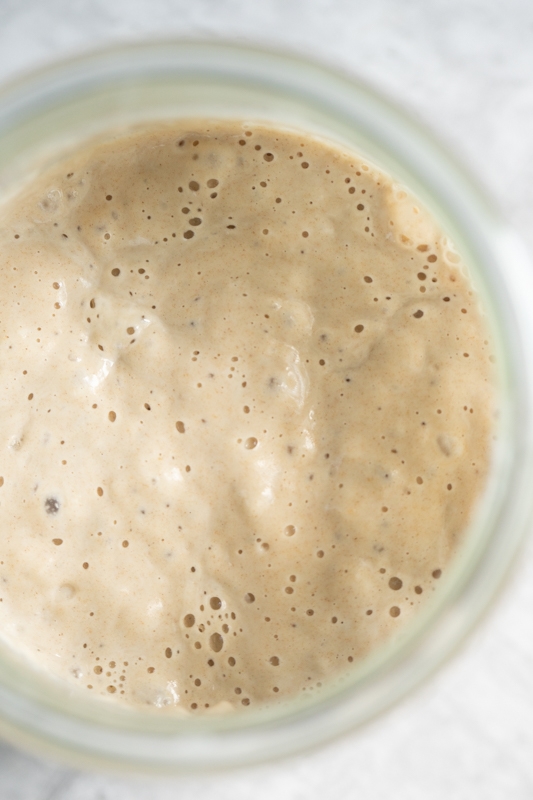
On day 3, discard some of the mixture until you have only 50 g left. Put those 50 g in a new clean jar. Add 50 g of water and flour. Stir after 12 hours. On day 4 and 5, add 50 g of flour and 50 g of water and don’t forget to stir. On day 5, your starter should have considerably grown. It will smell pleasantly sour and is now ready to use. If that is not the case, start the routine from day 3, keep feeding the starter and remember to store it in a warm place.
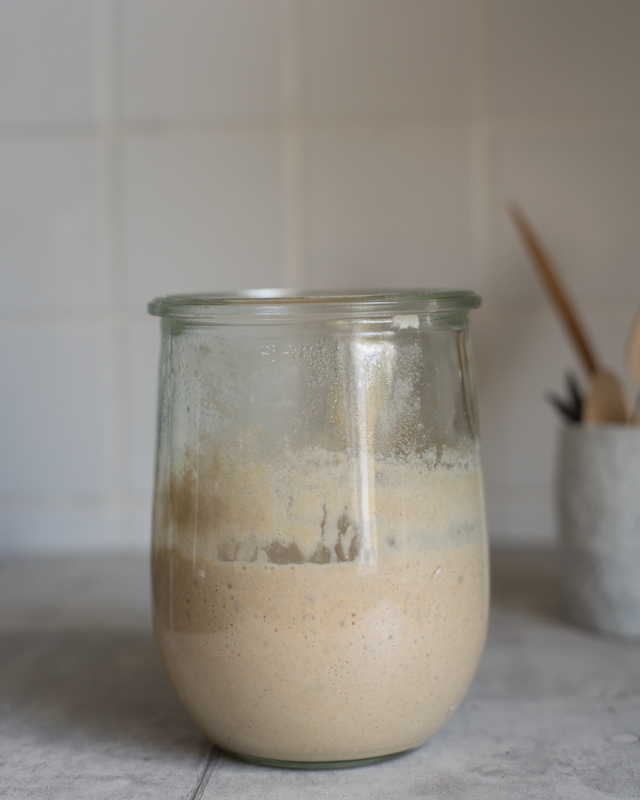
After your starter is ready to use, you should remember that this still is a very young starter. It may not be as potent as it is supposed to be yet. But that is not a problem. If you do care for it properly, it will get better and better. Also, you can add a little bit of yeast to your bread dough to make sure it rises properly. Just don’t put any yeast in your starter. That’s a recipe for disaster and will for sure kill your new friend.
How to take care of a sourdough starter
After your sourdough starter is ready to use, you should feed it on a regular basis. I usually don’t throw any of my starter culture away. This is my method: I use some of my starter in a bread recipe. I mix it with water and flour to make a pre-ferment that I let sit overnight. This is the step that is usually called refreshing your starter. On the next day (12 hours later) the mixture should have more than doubled in size.

This is is your mature culture that you can use to bake. At this point you should remove about 50 g of starter and store it in to fridge. The rest will be used for a sourdough bread right away. Please check back tomorrow to get the recipe. Okay, if you cannot wait, here’s a recipe you can use right now.
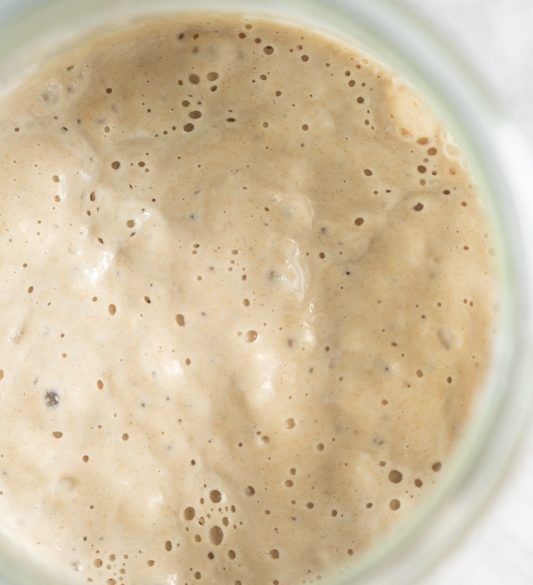
Ingredients
250 g whole rye flour
250 g water
Instructions
Day 1: In a sterilised jar, mix 50 g of water with 50 g of rye flour.
Losely cover with a lid or a thick cloth and let sit in a warm place for about 24 hours.
After about 12 hours, stir the mixture to beat in some air.
Day 2 Repeat steps from day one.
Day 3: Remove 50 g of starter and transfer top a clean jar. (Discard the rest of your starter or use it for waffles, pancakes, etc.)
Mix in 50 g of water and 50 g of flour. Let sit in a warm place for about 24 hours. Stir after 12 hours.
Day 4: Mix in 50 g of water and 50 g of flour etc.
Day 5 Repeat steps from day 4. If you do this in the morning, your starter should be very active a couple of hours later. Now it's ready to use.
If that is not the case, repeat the steps starting from day 3.
Notes
Start feeding your starter in the morning. This will probably work best with your daily routine.
4 comments
So day 3 is the ONLY day you remove some of the starter before feeding??? Almost all other recipes I’ve made, call for removing a portion of the starter each day (after day two) before feeding. Is it different with rye?
Yes, that is correct. This is a traditional method that is used by many people here in Germany. But at the same time it’s just one of many ways to make a starter. It might be that rye is different but for me this method works just as fine with wheat.
I think I am one of the only people who didn’t make my own sourdough, or even bake any bread.
Sourdough amazes me because it is like a really cool science project!
Ha, you are right about the science project. I never saw it that way.
Comments are closed.