A few days ago a reader of my blog asked for my vegan pastéis de nata recipe. I came up with that recipe after a visit to Portugal in 2010. But then it got lost in 2019, when I managed to brake my blog. Of course no recipe is ever really lost, there’s always the Wayback Machine. Which is exactly where I found an archived version of my blog post and the vegan pastéis de nata recipe.

I gave the archived recipe to the person who had asked me about it. She baked the custard tarts and reposted them on her Instagram account. Which earned me 150 new followers and a decent number of recipe requests. So here you go. I used my old recipe and updated the pictures.
I made these Portuguese custard tarts because my husband loves them very much. When we visited Portugal, we had to stop at a bakery once or twice a day and get “um pastel de nata, faz favor“. Pastéis de nata (pastries with cream) are little egg and cream custard tarts sold at every bakery in Lisbon. It is said that they were invented by nuns in the Mosteiro dos Jerónimos in Belém, close to Lisbon. Therefor they are also called pastéis de Bélem. (The bakery claims to sell the original version. After waiting in line for a long time to finally taste one of their pastries my husband claimed he liked the ones in Lisbon much better.)
These pastries are very small with a crust made from puff pastry and a filling that consists of mostly eggs and cream. Usually Portuguese pastries rely on huge amounts of eggs or egg yolks. The reason for this might be that them monks used the egg whites to filter the beer they were brewing. At least I was told so. Another story is that the nuns used egg whites to starch clothing.
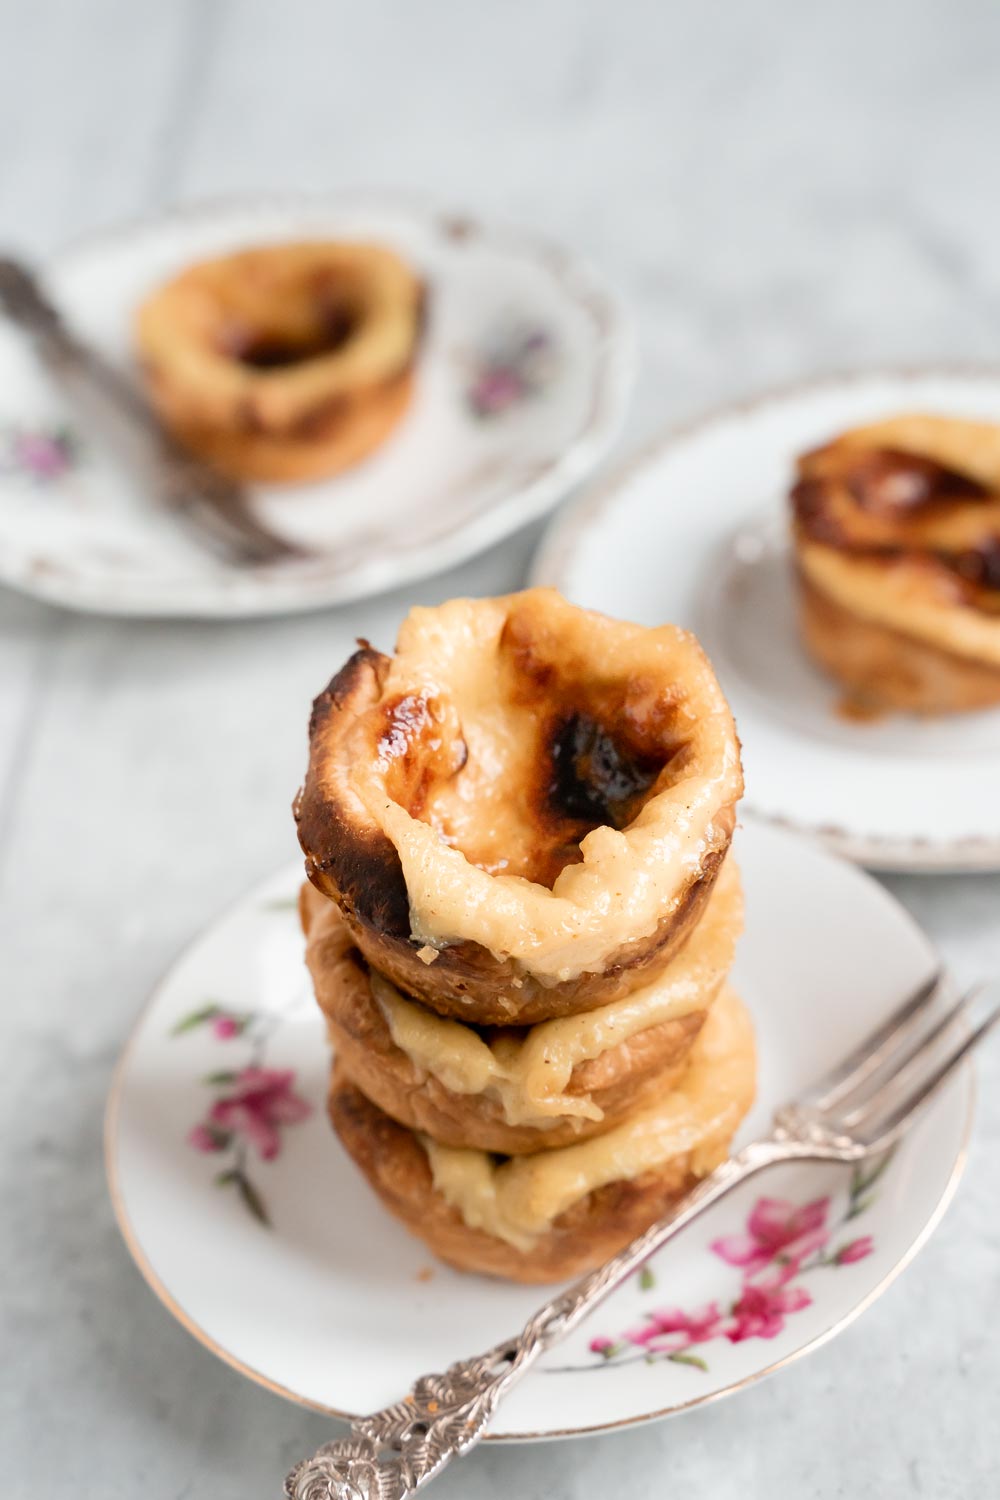
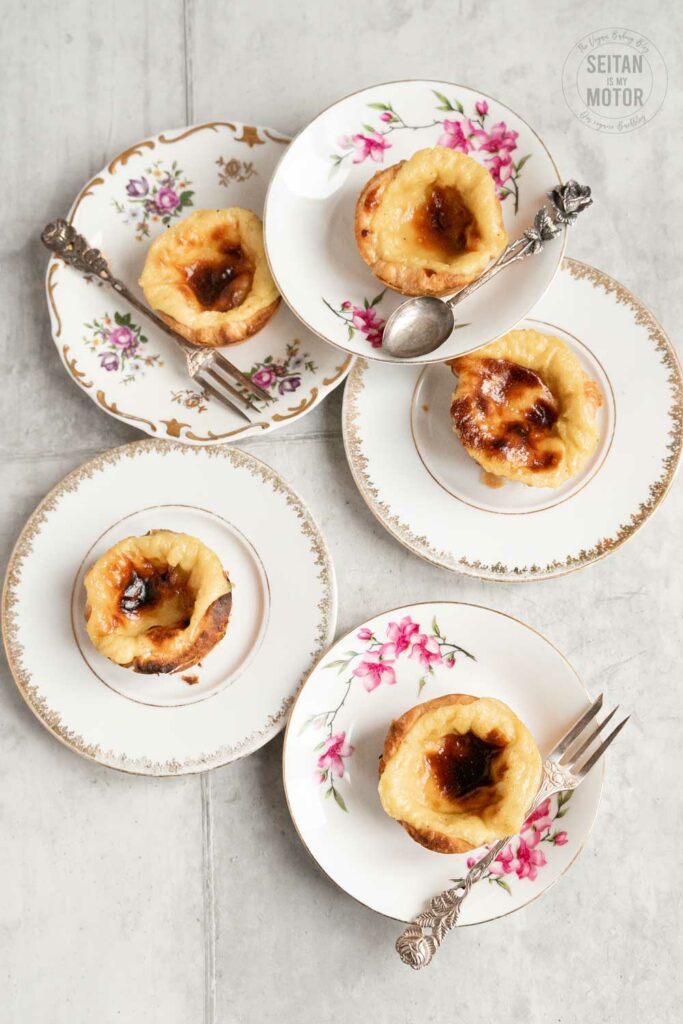
Pastéis de nata are always sold very fresh, sometimes they are still warm. Their tops are usually slightly burnt, because they are baked at a very high temperature. I read something about 400° Celsius (no, this is not a typo, it’s 750°F).
Obviously I never taste an original pastel de nata. When we left Portugal I forgot about the pastries until I was experimenting with making a cheesecake from coconut milk and soy yoghurt. It came out of the oven with a burnt top. It looked exactly like a huge pastel de nata. A vegan pastel de nata. I was exited and saved the recipe. I didn’t know if I’d ever blog about it because I thought that no one might know about these pastries.
But then someone asked about a vegan recipe for pastéis de nata, I thought I could dig out my cheesecake recipe and tweak it a bit. I call these pastries pastéis sem nata, pastries without cream. My taste tester P. said the pastry itself was like the original (which is not too difficult, I used prepared puff pastry). The filling is different from the original version of course. Competing with all those eggs is not an easy task. But I think I came up with a wonderful substitute. These cream tarts are a lovely and special treat on their own and not a substitute. They may not look like much but they are really delicious.
They have a wonderful creamy vanilla coconut flavour and the pastéis de nata are soft with a crunchy crust. These little gems are addictive. If they were made in a bakery here in Dresden, I’d get one every day. I’d develop a serious addiction! Fortunately I made only 12 pastries. They take a little bit of work but of course they are worth it.

Some tips on how to make your own pastéis de nata:
- This recipe is not difficult to make, especially since we’re relying on storebought puff pastry. Where I live (Dresden, Germany) it is available at some supermarkets but personally I love to buy it at the health food store because they sell preshaped squares of puff pastry. The product I buy comes in 300 g packs with 6 squares shaped 12×12 cm. If you cannot find vegan puff pastry, here is my version as a base for my vegan croissants.
- This recipe calls for a mixture of coconut milk, soy yoghurt, and soy milk. The coconut milk adds a lot of texture because of its high fat content. If you are allergic to coconut, you can try substituting it with a mixture of more yoghurt and a couple tablespoons of margarine. You could also try cashew cream. If you don’t have access to soy yoghurt, use more coconut milk.
- These are best on the day they are made, especially when they are still warm. When I made these the first time someone left a very helpful comment about how to freeze these: After you have put the filling on top of the puff pastry, you can freeze them. Baking the frozen tarts takes only a couple of minutes longer.
Vegan Pastéis de Nata (Custard Tarts)
Zutaten
For the filling
- 200 g coconut milk
- 140 g plain soy yoghurt (½ cup + 1 Tbsp)
- 120 ml plain soy milk (½ cup)
- 100 g sugar (½ cup)
- ¼ tsp ground vanilla
- ¼ tsp ground cinnamon
- 30 g cornstarch (¼ cup)
- ⅛ tsp Kala Namak (Black Salt), optional
For the crust
- 300 g vegan puff pastry (6 12×12 cm sheets à 50 g)
Anleitungen
To make the filling
- In a small saucepan combine all ingredients except for black salt.
- Bring to a boil and cook for one minute or until the mixture (stir constantly) turns into a thick custard.
- Remove from heat and stir in black salt, if using.
- Set aside and let cool.
To make the crust
- While the filling is cooling, preheat the oven to 250°C (480°F) and have a 12 cup muffin tin ready. (You don't have to grease it.)
- Take the puff pastry from the freezer and thaw it.
- Place two puff pastry sheets on top of each other and cut into 4 squares.
- Roll each square into a ball.
- On a lightly floured surface roll out each ball into a disk with a diameter of 9 cm.
- Press each disk into the bottom and the sides of a muffin tin.
- Repeat with remaining puff pastry sheets.
- Place the filling in a blender and blend until the mixture is creamy.
- Fill 2 tablespoons of filling into the puff pastry shells.
- Transfer to the oven and place on upper rack, close to the grill.
- Bake for 5 minutes, reduce heat to 230°C (450°F) and bake for 11 more minutes.
- Always keep an eye on your pastries and make sure they don’t burn too much. Some dark spots are desirable though.
- Remove from heat and let cool completely before removing from the tins.

5 comments
Can’t wait to try this. Just checking if step 5 for the filling is a typo or not as it’s identical to step 2.
Hey Ruth, thank you for catching that. Step 5 is completely redundant. I edited the recipe.
May I ask, the coconut milk is just the normal milk or from a can? I get always confused which one should be used. I would like to give them a try also. Thank you!
Hi Silvia! Yes, from a can, It needs to be fatty and creamy:)
Thought so but better to check 🤩 thanks a lot!
Comments are closed.